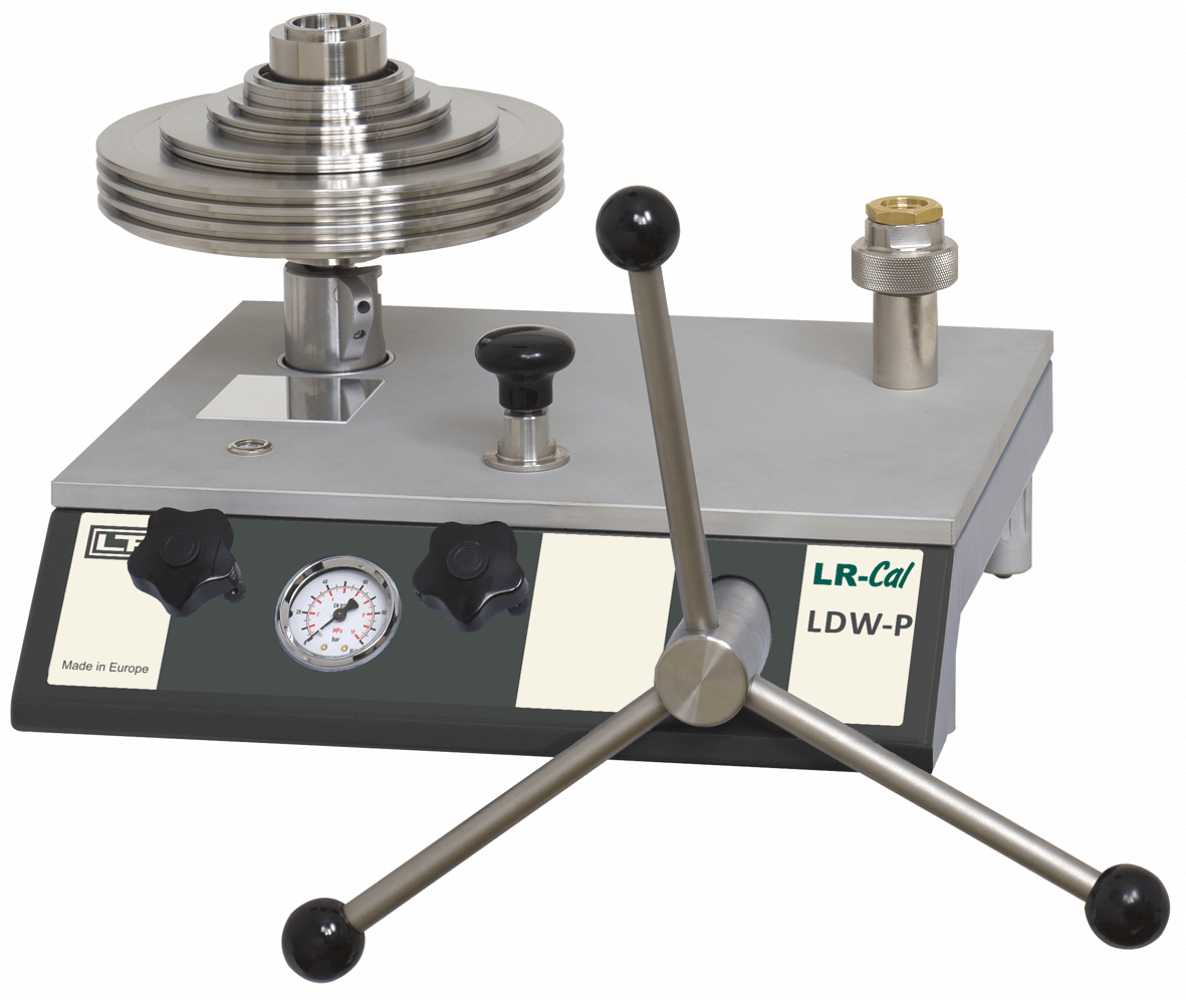
LR-Cal LDW-P deadweight tester / pressure balance
pneumatic, up to 120 bar
Accuracy up to ±0.008% of measured value
Description
LR-Cal LDW-P description
Proven primary standard
Pressure balances / deadweight tester are the most accurate devices available on the market for the calibration of electronic or mechanical pressure measuring instruments. The direct measurement of the pressure (p = F/A), as well as the use of high quality materials allow a very small measurement uncertainty in combination with an excellent long-term stability of 5 years (recommendation according to the German Calibration Service (DAkkS)). Pressure balances / deadweight tester have been used for years in factory and calibration laboratories of industry, national institutes and research institutes.
Autarkic operation
Due to the integrated pressure generation (for measuring ranges up to 10 bar) as well as the purely mechanical measuring principle, the LR-Cal LDW-P pressure balance is also ideally suited for on-site use, maintenance and service.
Grundprinzip
Druck ist definiert als der Quotient aus Kraft und Fläche. Das Herzstück der LR-Cal LDW-P Druckwaage bildet dementsprechend ein sehr präzise gefertigtes Kolben-/Zylinder-System, das zur Erzeugung der einzelnen Prüfpunkte mit Massenauflagen belastet wird.
The mass support is proportional to the targeted pressure and is achieved by optimally graduated disc weights. These disc weights are manufactured as standard to the standard acceleration of gravity of 9.80665 m/s², but can also be optionally adapted to their specific location of use and also DAkkS calibrated.
Simple operation
In the stable basic unit, even large test volumes can be easily filled and compressed in the version up to 7 bar with the integrated priming pump. For further pressure build-up, a very precisely adjustable spindle pump with internally rotating spindle is installed. Ranges from 25 bar (up to 120 bar) have a connection for an external pressure supply (e.g. nitrogen bottle with pressure reducer).
As soon as the measuring system is in a floating state, there is a balance of forces between the pressure and the mass supports. Due to the excellent workmanship of the system, this pressure remains stable for several minutes, so that the pressure values for comparative measurement or even more extensive adjustment work can be carried out on the test specimen without any problems.
Two basic device versions
The LR-Cal LDW-P deadweight tester is supplied in one of the following two variants depending on the measuring range:
- Basic unit, for measuring ranges up to 7 bar / 100 psi
with integrated test pressure generation via priming pump and spindle pump
- Basic device, for measuring ranges from 25 bar, as well as for vacuum
with inlet metering valve and connection for external pressure (or vacuum) supply.
NOTE: When used with vacuum piston cylinder system, this second version with connection for external pressure/vacuum supply MUST be used.
As standard, the basic units are equipped with a connection for the piston-cylinder system with thread 3/4" BSP male. A quick-action clamping fixture for the piston-cylinder system is available as an option (mandatory for vacuum range). This allows the piston-cylinder system to be changed quickly and safely without tools.
The test specimen is connected to a quick-connect system without tools. Due to the free-running knurled nut, the test specimens can be aligned as desired. A threaded insert with a 1/2" BSP thread is included as standard. Further threaded inserts are optionally available, with which all common pressure measuring devices can be connected.
Special features:
- Total measurement uncertainty up to ±0.008% of measured value
- With traceable factory calibration certificate as standard (option: DAkkS calibration certificate)
- Very high long-term stability, recommended recalibration only every 5 years
- Mass disks made of stainless steel, adaptation to local gravitational acceleration of the place of use without extra charge
- Compact dimensions
Applications:
- Primary standard for the measurand pressure, up to max. 120 bar (1,600 psi), pneumatic
- Reference instrument for factory and calibration laboratories for testing, adjusting and calibrating pressure measuring instruments of all types
- Self-sufficient complete system, also suitable for on-site use.
Piston cylinder system
LR-Cal LDW-P piston cylinder system
The pistons and cylinders are made of tungsten carbide. Tungsten carbide has very low coefficients of pressure and temperature expansion compared to other materials, which results in very good linearity of the effective piston cross-sectional area and high accuracy.
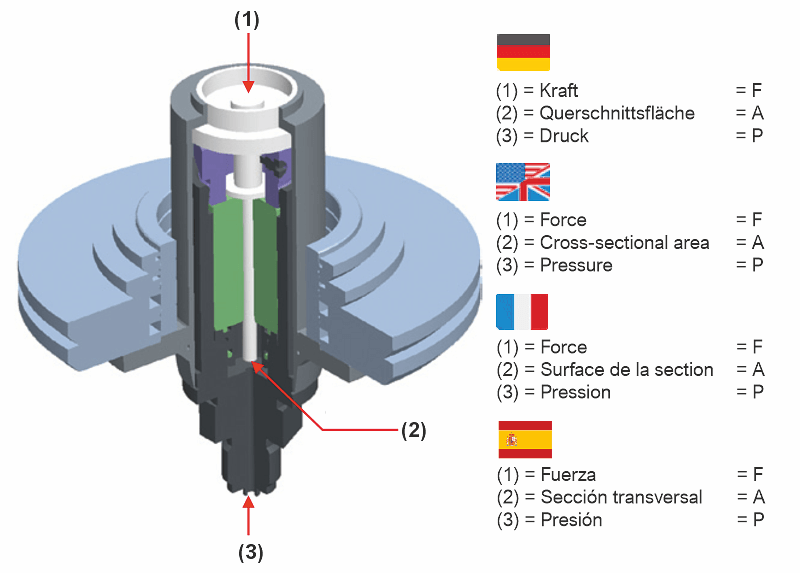 Piston and cylinder are very well protected in a solid stainless steel housing against contact, impact or contamination from the outside. At the same time, an overpressure safety device is integrated, which prevents the piston from being pushed out vertically and thus prevents damage to the piston-cylinder system in the event of disk weights being removed under pressure.
The disc weights are stacked on a bell that is placed on the skirt of the piston. The design of the bell ensures a very low center of gravity for the weights placed on top, which minimizes the lateral forces on the piston-cylinder system and friction. For lower starting pressures, a lighter aluminum plate can also be used instead of the bell.
The overall design of the piston-cylinder unit and the precise manufacture of the piston and cylinder ensure extremely low frictional forces, which result in excellent running properties with a high free rotation time and low sink rates. This ensures very high long-term stability. The recommended recalibration cycle is therefore five years depending on the conditions of use.
The connection of the piston-cylinder system is an M30 x 2 external thread as standard. Optionally, a quick-release fastener is available for easy piston (= measuring range) change without tools.
Specification
LR-Cal LDW-P specification
| Execution | |||||||
|---|---|---|---|---|---|---|---|
| for ranges up to 7 bar | Integrated pressure generation (pre-pressure pump, spindle pump) | ||||||
| for franges from 25 bar and vacuum | Connection for external pressure/vacuum supply | ||||||
| Connections / media |
|||||||
| Connection piston-cylinder | M30 x 2 male thread Optional: Quick release connector (changement of piston without tools) |
||||||
| Connection unit under test | Quit fit 1/2" BSP female, rotating, exchangeable | ||||||
| Pressure transmission medium | clean, dry, non-corrosive gases (e.g. air, nitrogen) | ||||||
| External port for sourcing pressure/vacuum | 6 mm SWAGELOK® tube fitting, max. 100% of the measuring range used (only for version for external pressure supply) | ||||||
| Materials | |||||||
| Piston | Ranges 0.015...1 bar to 0.1...7 bar + 0.2...15 to bis 1...100 psi: Chrome steell Ranges 0,2...25 bar + 3...400 psi: Tungston carbide Ranges 1...70 bar bis 1...120 bar + 15...1,000 psi und 10...1,600 psi: Chrome steel |
||||||
| Cylinder | Ranges 0,015...1 bar to 0,1...7 bar + 0,2...15 psi bis 1...100 psi: High-alloy heat-treated stainless steel Ranges 0,2...25 bar + 3...400 psi: Tungston carbide Ranges 1...70 bar to 1...120 bar + 15...1.000 psi to 10...1.600 psi: Bronze |
||||||
| Mass set | Stainless steel, non-magnetic | ||||||
| Pipings in the basement | Version with integrated pressure supply: Polyurethane hose 4 x 0.75 mm Version for ext. pressure supply: Stainless steel 1.4571, 3 x 1 mm |
||||||
| Operating conditions |
|||||||
| Operating temperature | °C | 18...28 | |||||
| Weight | |||||||
| Basement | kg | 18.0 (19.0 with optional quick release connection) | |||||
| Dimensions | |||||||
| Basement | mm | W 401 x D 375 x H 265 | |||||
| Case for mass set | mm | W 400 x D 310 x H 310 each case | |||||
| Certificate | |||||||
| Calibration | Inspection certificate 3.1 according to DIN EN 10204 Optional DAkkS certificate, traceable and accredited according to ISO 17025 |
||||||
| CE conformity | No certificate required | ||||||
Pressure ranges
LR-Cal LDW-P pressure ranges
| Pressure range 1) | bar | 0,015 ... 1 |
0,015 ... 2 | 0,1 ... 7 |
0,2 ... 25 |
1 ... 70 |
1 ... 120 |
|---|---|---|---|---|---|---|---|
| Required masses | kg | 3,3 | 6,54 | 22,5 | 21,0 | 29,0 | 49,5 |
| Smallest step 2) | bar | 0,005 | 0,005 | 0,05 | 0,3 | 0,5 | 0,5 |
| Smallest step 3) with optional increment masses code LDW-P-FMS | bar | - | - | 0,005 | 0,01 | 0,02 | 0,02 |
| Nominal effective area of the piston | in² | 1/2 | 1/2 | 1/2 | 1/8 | 1/16 | 1/16 |
| Pressure range 1) | psi | 0,2 ... 15 |
0,2 ... 30 |
1 ... 100 |
3 ... 400 |
15 ... 1.000 |
10 ... 1.600 |
| Required masses | kg | 3,3 | 6,54 | 22,6 | 22,4 | 26,9 | 45,5 |
| Smallest step 2) | psi | 0,05 | 0,005 | 0,5 | 5 | 5 | 5 |
| Smallest step 3) with optional increment masses code LDW-P-FMS | psi | - | - | 0,05 | 0,1 | 0,2 | 0,2 |
| Nominal effective area of the piston | in² | 1/2 | 1/2 | 1/2 | 1/8 | 1/16 | 1/16 |
| Accuracy 4) | ±0.015% of reading; optional ±0.008% of reading | ||||||
Vacuum ranges -1...-0,015 bar and -15...-0,2 PSI are realised with a vacuum adapter. This vacuum ranges are possible with basement version with port for external pressure/vacuum source only. Also a suitable vacuum pump is required.
1) Theorethical starting value. Corresponds to the pressure value generated by the piston or the piston and its make-up weight (by their own weight). To optimize the operating characteristics more masses should be loaded.
2) The smallest pressure range value that can be achieved based on the standard mass set.
3) The smallest pressure change value that can be achieved based on the optional set of fine increment masses, order-code LDW-P-FMS. For further reductions, an accessory of class M1 (order-code LDW-FMS-M1) or class F1 (order-code LDW-FMS-F1) is available.
4) The accuracy is in reference to the measured value, from 10% of the measuring range to compensate for actual area of piston unit. Standard accuracy without any corrections for the actual area down to 0.02% (0.03% of reading below 10% of range). For the range 0.015...1 bar the accuracy below 10% of the range is 0.04% of reading.
Scope of standard supply
LR-Cal LDW-P scope of standard supply
- Instrument base LR-Cal LDW-P
- Priming pump (only at pressure ranges up to 7 bar / 100 psi
- Connection for external pressure supply (only with vacuum and from 25 bar)
- Only vacuum: vacuum adapter
- Spindle pump (pressure generation and fine adjustment)
- Piston mount with male thread M30 x 2
- Quick connector for test specimen, with threaded insert 1/2" BSP female thread, exchangeable
- Piston cylinder system
- Standard set of dimensions in carrying case, manufactured to normal acceleration due to gravity 9.80665 m/s².
- Inspection certificate 3.1 according to DIN EN 10204
- Operating manual DE+EN
LR-Cal LDW-P options + accessories + spare parts
Accuracy0.008% of measured value

Option:
Increased accuracy
±0.008% of measured value
Calibration to speciallocal gravity
Option (without surcharge):
Mass set manufactured to special local gravitational acceleration at the place of use of the device
(deviating from standard = 9.80665 m/s²)
Piston cylinder system withquick release connector
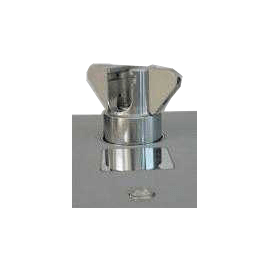
Option (surcharge):
Piston cylinder system with quick release connection instead of M30x2,
this allows the piston-cylinder system to be changed without tools.
DAkkS-certificate

Option (surcharge):
DAkkS calibration certificate
traceable and accredited
according to ISO 17025
Mass set extensionfiner graduation
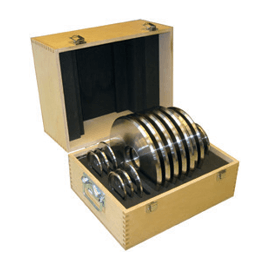
Accessory:
Additional finer set of weights to increase the "resolution".
In addition to the standard weight set.
Incremental weight setclass F1
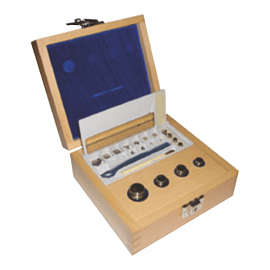
Accessory:
Fine incremental weight set class F1
1 mg bis 50 g
Incremental weight setclass M1

Accessory:
Fine incremental weight set class M1
1 mg bis 50 g
Adapter setBSP
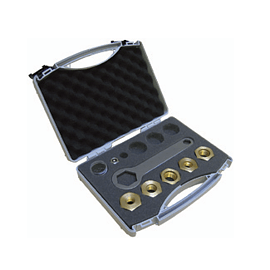
Spare part:
Set of BSP adapter for test piece connection
to 1/8" + 1/4" + 3/8" + 1/2" BSP
(1 x included in the scope of supply of the device)
Adapter setNPT

Accessory:
Set of NPT adapter for test item connection
to 1/8" + 1/4" + 3/8" + 1/2" NPT
Angle connector90° angle
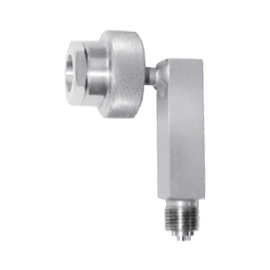
Accessory:
90° elbow connector
e.g. for connecting pressure gauges with rear pressure connection to the test connection of the device
SeparatorOil/water on air
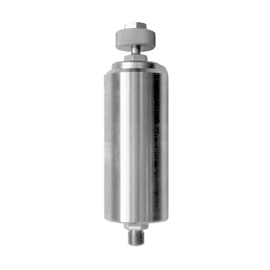
Accessory:
Oil/water to air separator, max. 1,000 bar.
Thus, test specimens exposed to oil or water can be tested/calibrated with the pneumatic pressure balance.
Set of seals for pistonand pressure port
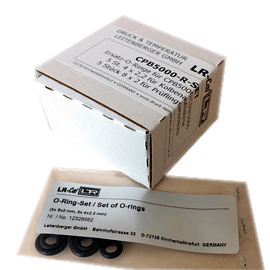
Accessory:
Seal kit for piston mount and test piece connection
LR-Cal LDW-P product VIDEO
Basic information on pressure balances / deadweight tester see here...
